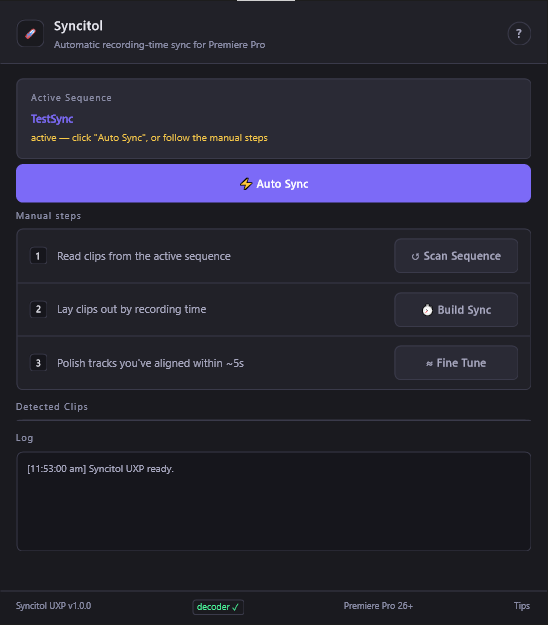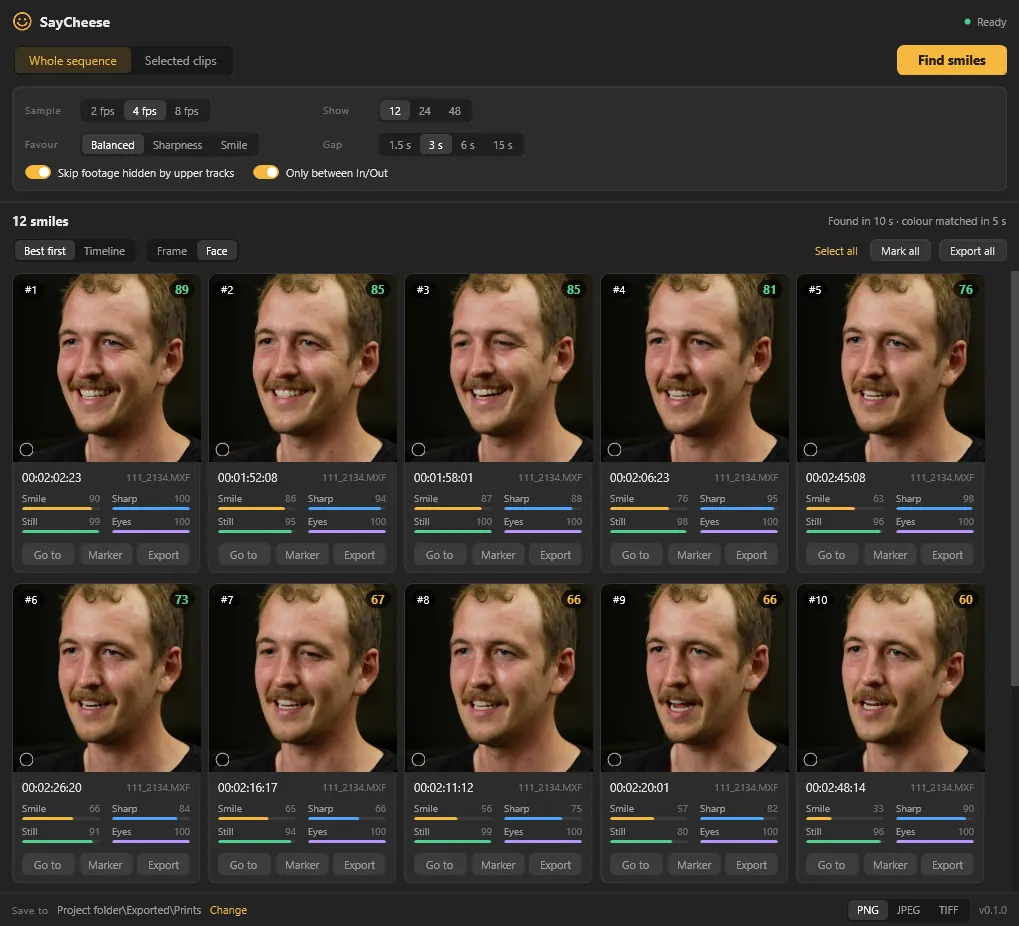
Two cameras on an interview, same lights, same white balance, and the footage still doesn't match. The wide is a touch warmer, the skin tones sit in a different place, and the shadows have a different feel. You grade the hero camera, then spend the next half hour pushing the second angle around until it stops jumping out on every cut. ProMatch is the plugin we built to make that a one-click job.
Why camera angles never quite match
Even on a carefully set-up corporate interview, two cameras rarely see colour the same way:
- Different cameras, different science. A Sony and a Canon, or even two models from the same maker, render skin, reds and shadows differently.
- Different picture profiles. Cameras on different profiles differ most in the darks, which is where a mismatch is often most visible.
- Different angles on the light. A close-up and a wide see the key light and the room from different positions, so the same face can genuinely look different.
- The hero camera is graded. Once you've graded the main angle, the second one has to match the grade as well as the camera.
Premiere Pro has a built-in Color Match in Lumetri, but in our experience it gets you into the neighbourhood rather than the right house: skin ends up too dark or too orange, and colours like a white shirt drift. On a multicam cut, those differences show up every time you switch angle.
What ProMatch does
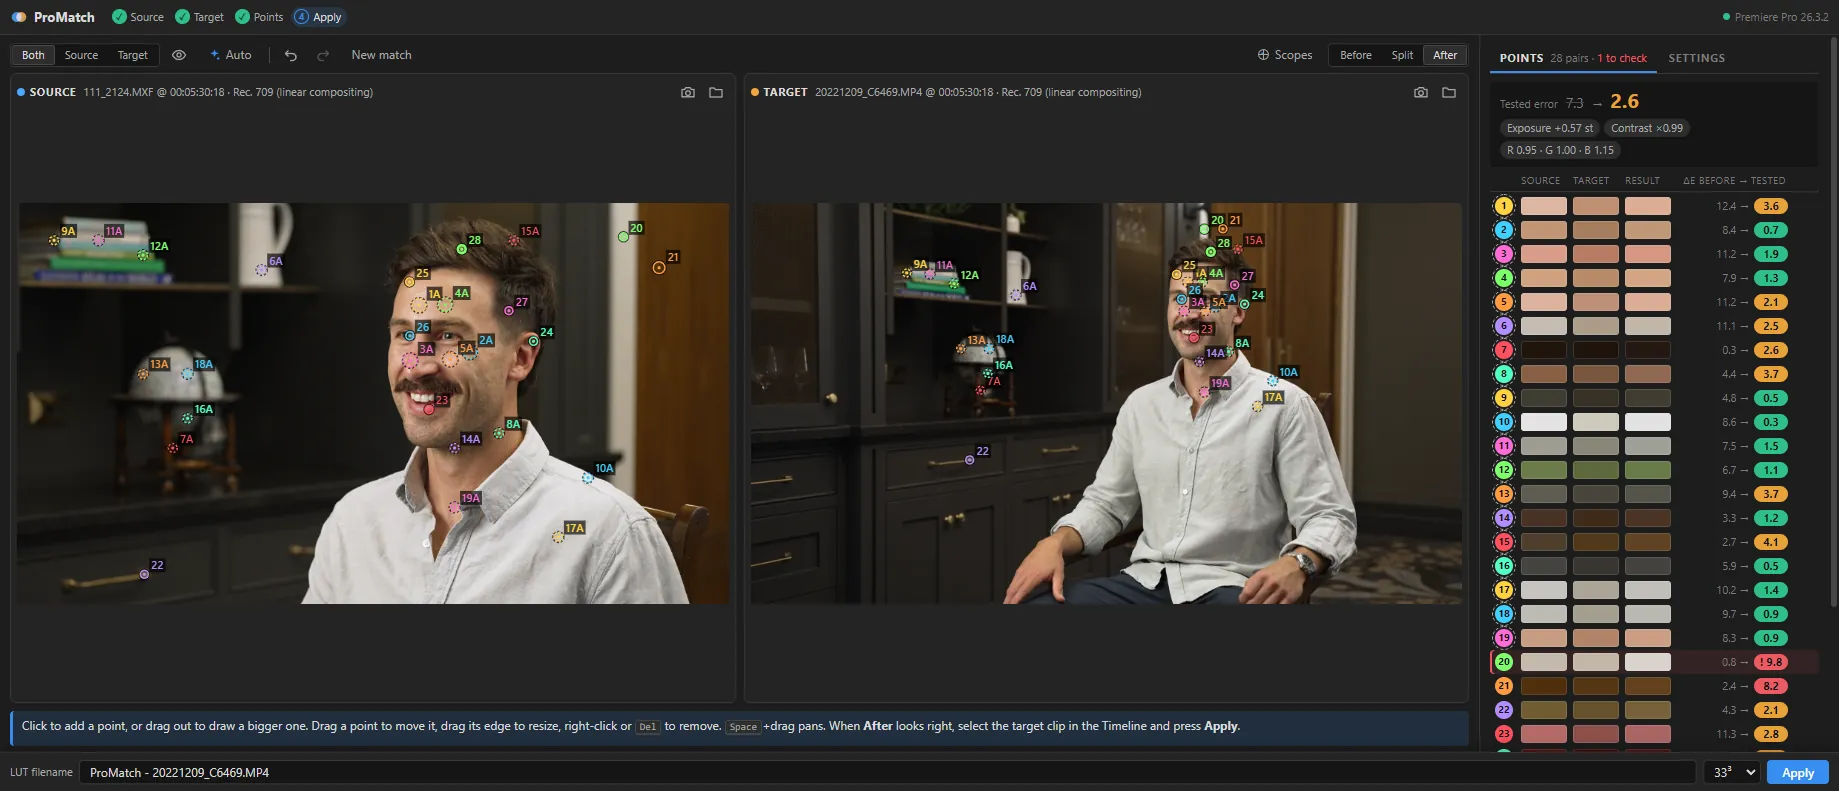
ProMatch is a free Premiere Pro panel that matches one camera angle's colour to another. Instead of guessing from the whole image, it works from points you pick on the same things in both shots: a forehead, a cheek, a shirt, a picture on the wall. From those pairs it works out how to turn the target camera's colours into the source camera's.
- Capture both frames. Put the playhead on the camera you want to match to and press Capture, then do the same on the camera you want to fix, at the same moment if you can.
- Get a head start with Auto. ProMatch finds a set of matching points on its own, including skin points on faces, then you add or delete pairs by clicking the same spot in each frame.
- Check the result live. Compare Before, Split and After, with a draggable wipe and side-by-side scopes. Every point shows its error before and after, so you can see exactly where the match is good and where it needs another point.
- Apply it. Select the target camera's clips and press Apply. The match goes on as ProMatch's own effect, and it's saved as a
.cubeLUT as well.
How it compares to Premiere's Color Match
Here's the wide camera from the shot above, matched to the graded close-up, first with Premiere Pro's Color Match and then with ProMatch:
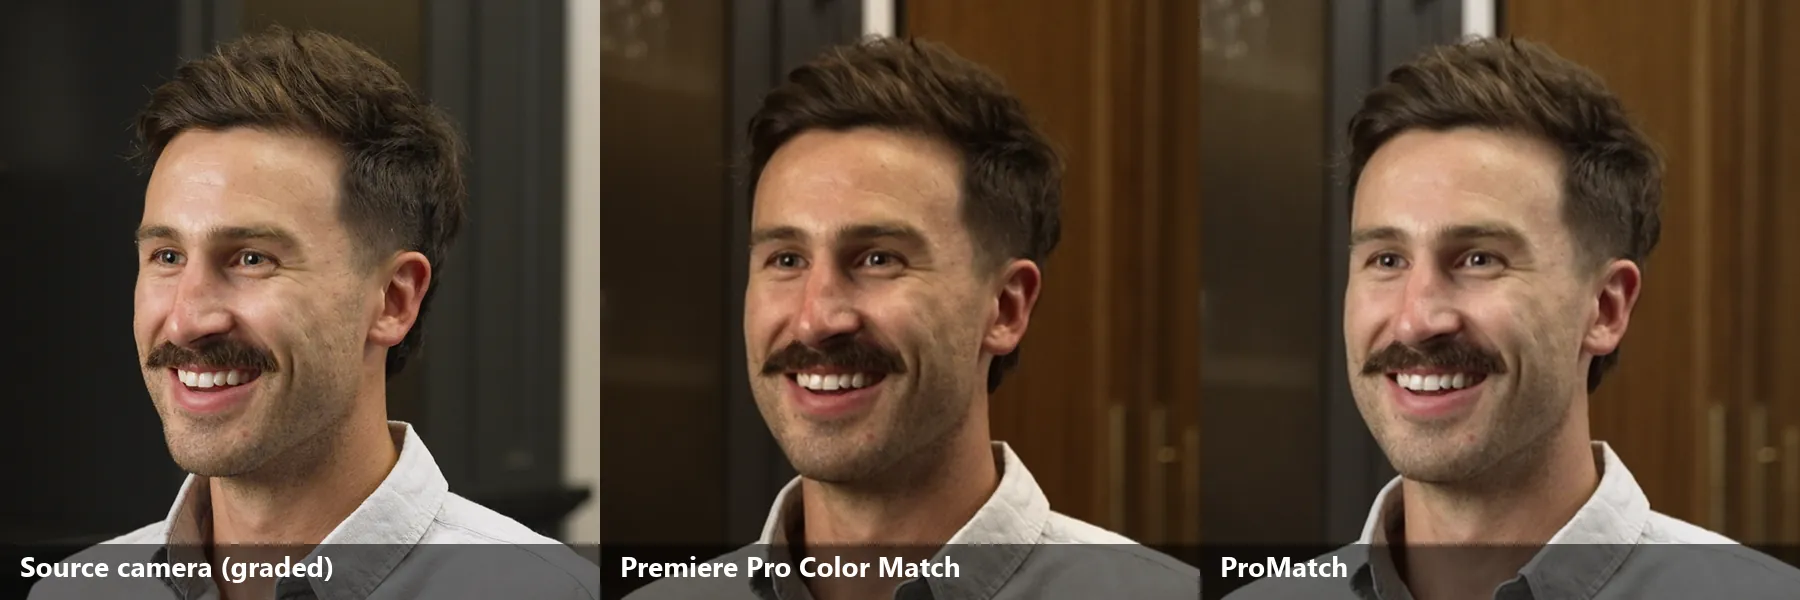
Because the match comes from specific points rather than the whole frame, it isn't thrown off by the two shots having different backgrounds, which is exactly the situation a wide and a close-up are in.
Built for multicam
For a multicam edit, apply the match to the angle's clip inside the multicam source sequence, and every cut to that camera inherits it. Press Apply again after more tuning and every clip using that match updates.
The match is stored inside the effect itself, so the project opens correctly on any computer with ProMatch installed, with no LUT files to copy around. Edit LUT in Effect Controls reopens the panel on the exact frames and points that made it. If you're building multicam sequences from footage that started and stopped all day, Syncitol handles the sync side.
How it works under the hood
For the colourists and the curious:
- Clean sampling: each point is a small disc averaged in linear light, with the brightest and darkest 10% thrown out first to remove specular highlights and edges. Points that are too clipped are ignored and flagged.
- Global correction: exposure and contrast are fitted together as a curve on luminance, plus white balance as per-channel gains.
- Local correction: whatever error remains at each point is removed by a smooth field centred on that point's colour. That's what makes a particular red match: nearby reds move with it, including its shadowed side, while unrelated colours are left alone.
- Auto points: feature matching finds the same physical spots in both frames, and a face mesh places pairs on open skin (forehead, cheeks, nose bridge, chin), skipping any side of the face turned away from either camera.
- A real effect: the ProMatch effect renders on the GPU (CUDA or OpenCL on Windows, Metal on Mac) or on the CPU, and LUT export goes up to 65³ with a gentle highlight roll-off so brightened footage eases into white instead of clipping.
Auto needs texture to work with. Plain walls and out-of-focus sofas give it nothing to match, so pick those by hand: click the spot on the source, then the same spot on the target. A handful of well-placed manual points on top of Auto usually gets you the rest of the way.
Why we built it (and why it's free)
Almost every interview we shoot has at least two cameras, and matching them was one of the most repetitive parts of the grade. ProMatch gets us to a close match in a couple of minutes, which leaves the time for the creative side of the grade.
Like Syncitol, Unphased and SayCheese, it's free and open-source on GitHub under the MIT licence. If it saves you a grading session, we'd appreciate a tip on Ko-fi, but it's genuinely yours to keep either way.
Requirements & install
ProMatch requires Premiere Pro 2021 (15.0) or later, on Windows 10 or 11 (64-bit) or macOS 11 or later on Apple Silicon or Intel. A GPU is optional. Unlike our other plugins, ProMatch comes with a proper installer, because it puts two things on your computer: the panel and the ProMatch video effect.
To install, close Premiere Pro and Media Encoder first, then:
- Windows: run
ProMatch-0.2.0-win-setup.exeand accept the administrator prompt. It needs that because Premiere only loads effects from Program Files. - macOS: open
ProMatch-0.2.0-mac.pkg, follow the installer and enter your Mac's password when asked.
Then start Premiere Pro and open Window → Extensions → ProMatch. The effect appears under Effects → Video Effects → ProMatch.
The panel checks for new versions once a day and shows a banner when one is out. To update, run the new installer over the old one; there's no need to uninstall first.
ProMatch isn't registered with Apple (that costs a yearly fee), so the first time you open the installer, macOS says it can't check it for malicious software. On macOS 15 or later, click Done, go to System Settings → Privacy & Security, scroll to the message about ProMatch, click Open Anyway and confirm. On macOS 14 or earlier, Control-click the .pkg, choose Open, then Open again.
Download ProMatch
Download for Windows v0.2.0 (.exe) Download for macOS v0.2.0 (.pkg)
Close Premiere, run the installer, and you'll find ProMatch under Window → Extensions in Premiere Pro. The Mac installer works on both Apple Silicon and Intel.
Source code, the full user guide, issue tracker and release history are all on GitHub. If you run into anything, open an issue and we'll look into it.
And if you need a hand with anything beyond the grade, from planning and filming your next video project to the final delivery, get in touch.